Qui-
Making a Collar out of Italian Belt Leather (Part I)
during this project, I am following this YouTube tutorial by J.H. Leather! If you’re thinking about making a collar yourself I think this is a great place to start!
When I was on my way to visit a friend’s place near Genoa last spring, I thought it would be nice to try to source some good ol’ Italian leather and make a collar.
As I was waiting for my flight at Schiphol airport, I scouted out this tiny shop using my expert OSINT skills (I used Google Maps). On the last day of my stay I went to go and secure the material. The shop and respective shopkeeper are super adorable. Unfortunately I have absolutely no command of the Italian language whatsoever, causing me to fumble around awkwardly for 30 seconds. No worries though, I got out a translator on my computer phone and we passed it back and forth to communicate.
Since I felt way too shy and flustered to ask the guy for collar-sized straps, I asked for a piece of leather the length of a belt instead. This has the nice side-effect of allowing me to make more collars in the future! He offered me to pre-cut the straps to the right width for the buckles I was buying, but for some reason I refused this (let’s say it’s just in my crafting spirit?)
Ultimately the piece of leather I got was 104cm long and 10cm wide, allowing me to theoretically make 6 straps (each 52cm x 3.3cm). In addition I bought three buckles, and the clerk graciously gave me a pretty big rectangle of leather scrap to use for loops and such. I have yet to get a D-Ring, but I’m worrying about that later.
Let’s begin!
Cutting a Strap
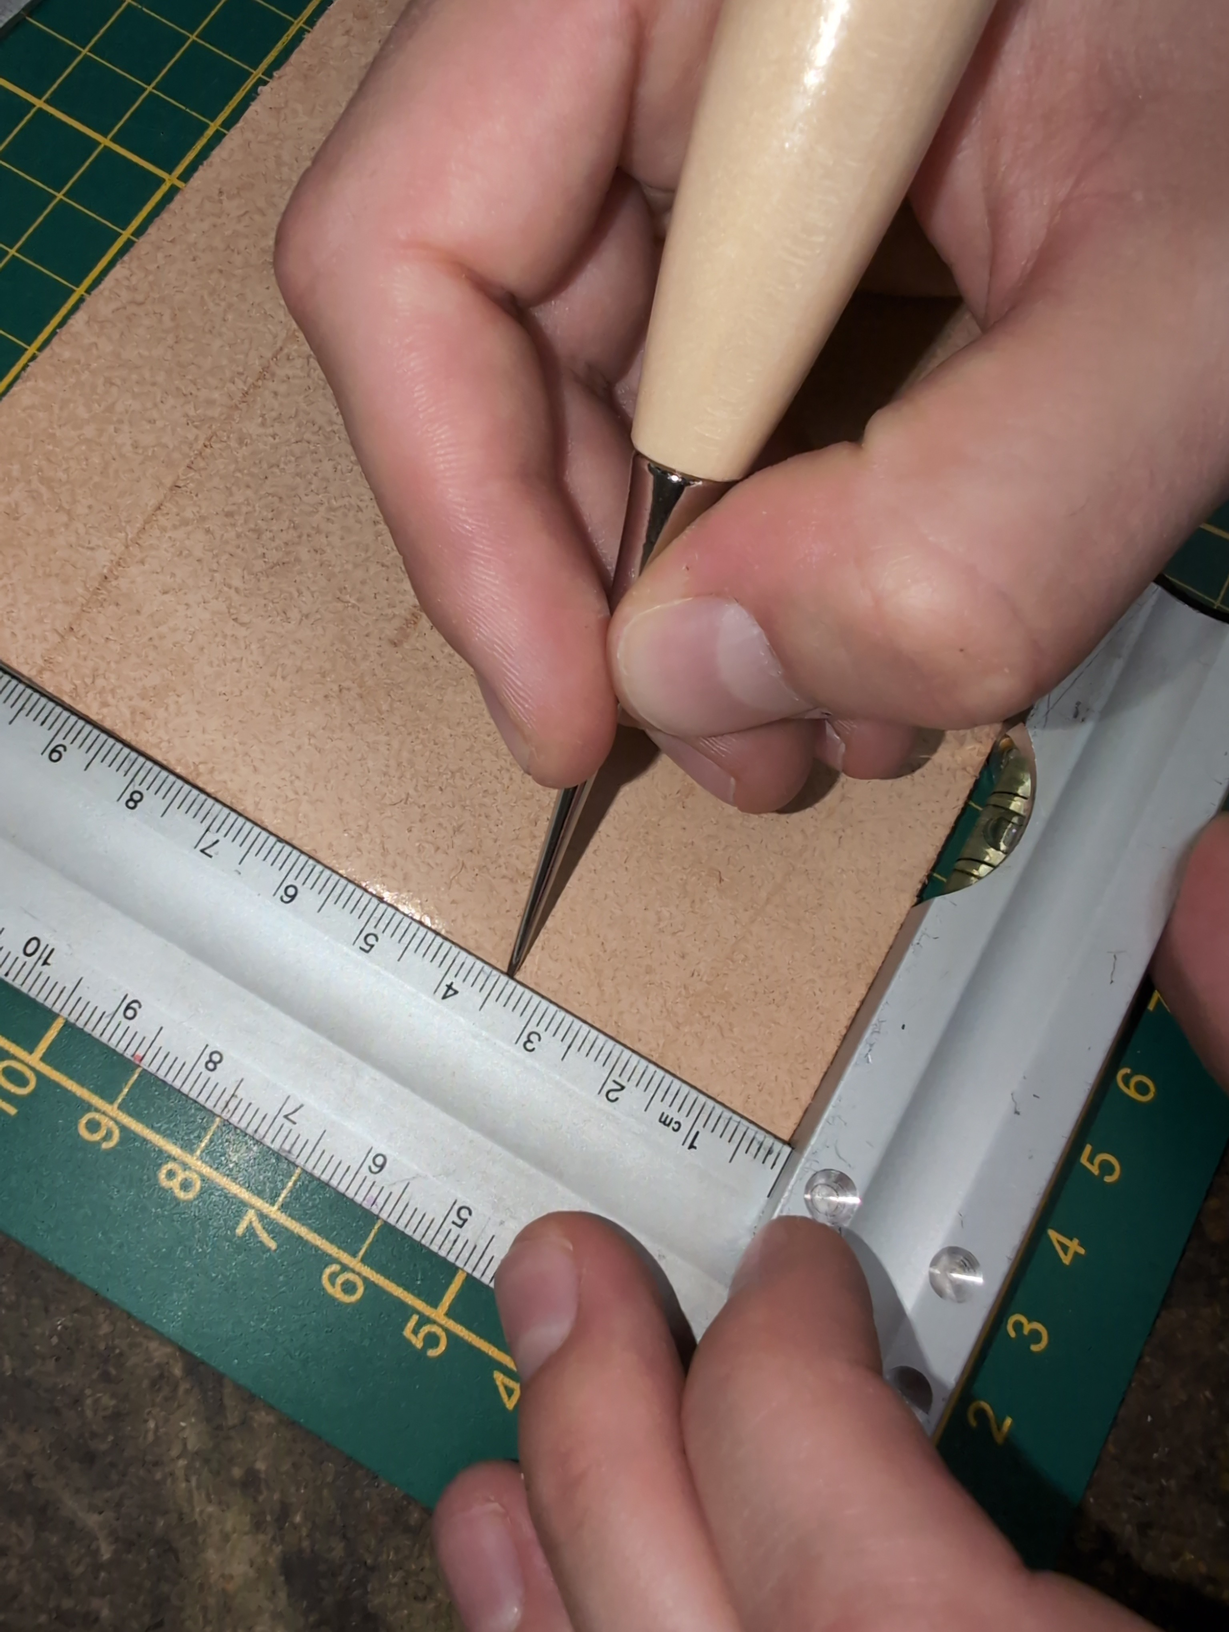
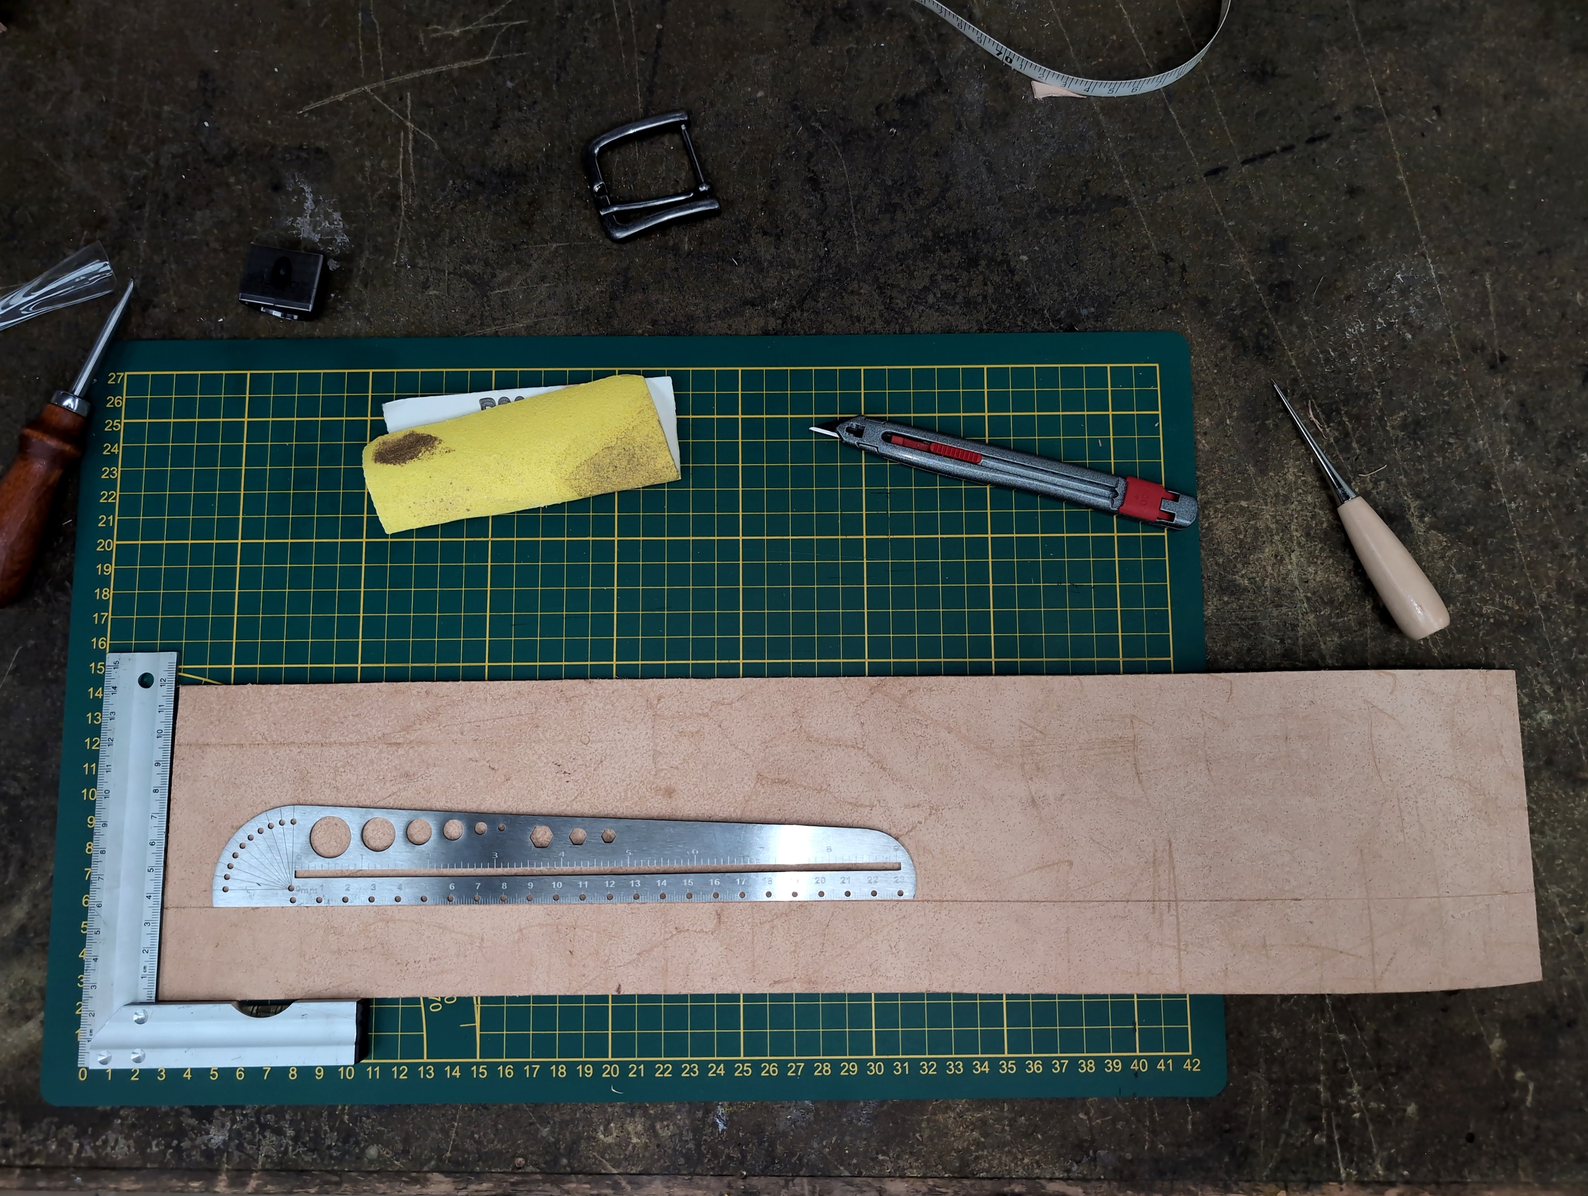
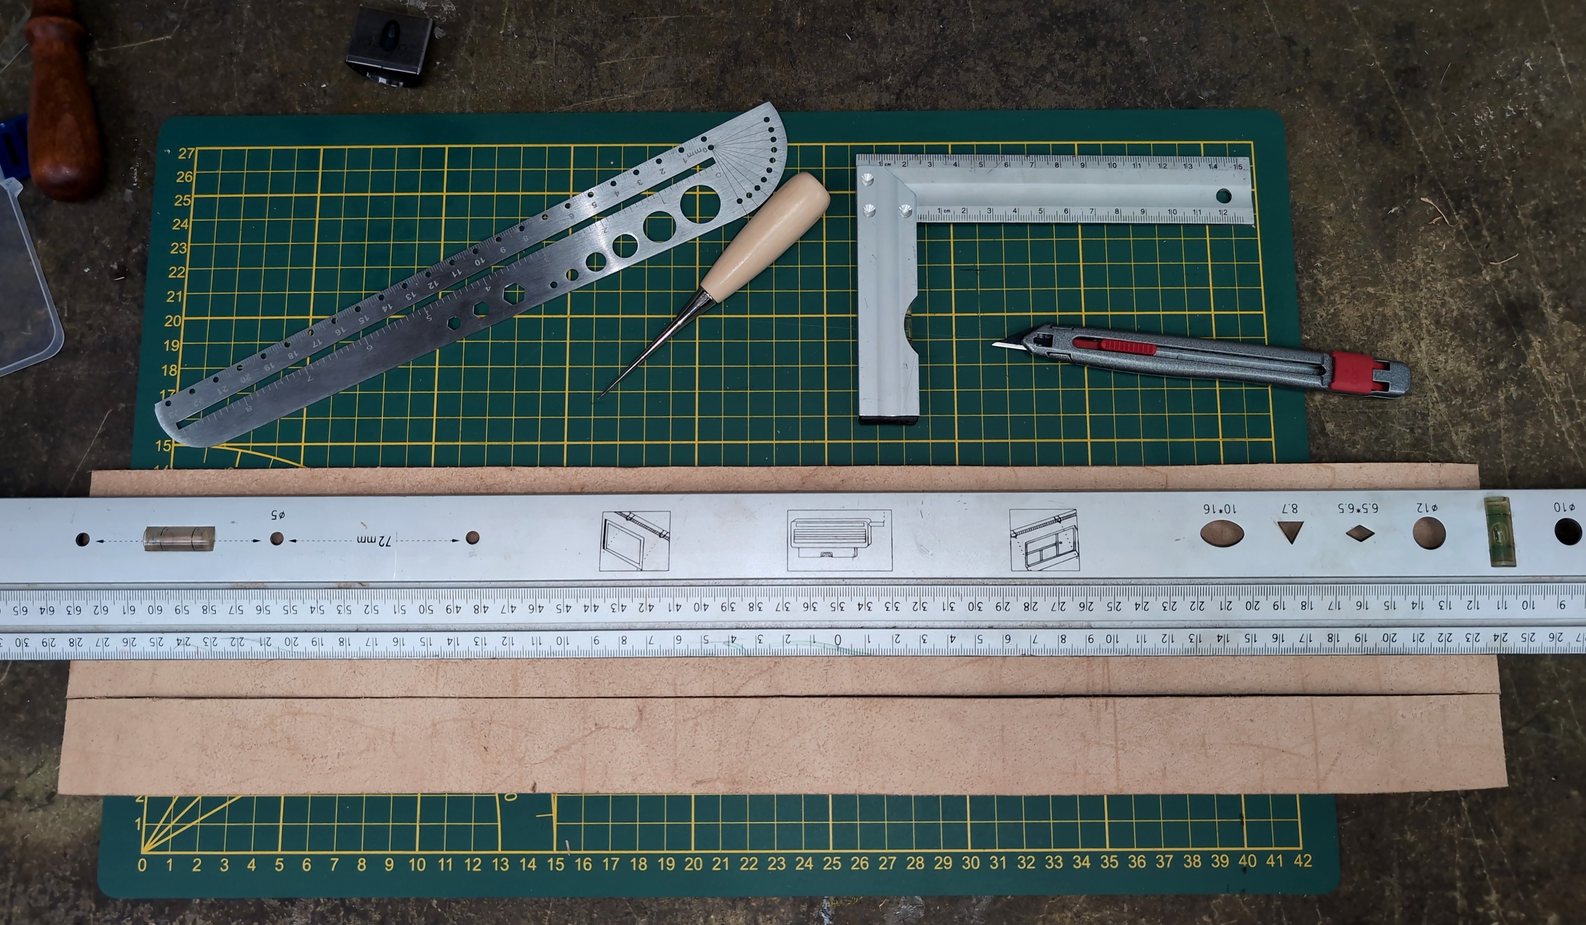
In order to cut my strap as straight as possible I use a square, choosing the straightest edge of the leather as my reference. I put a few marks down the length of my piece, 3.3cm away from the straight edge. Connecting these individual marks results in nice straight lines!
|
|
|
A few things that made this easier for me:
- Don’t try to cut all the way through the leather on the first pass. Make a shallower pass first, and increase the depth of your cut with each consecutive pass. It took me about 4 passes to cut through my piece of leather.
- Break off a fresh piece of your cutter knife! Having a sharp blade makes a big difference!
- Instead of trying to cut the whole 104cm as an evenly wide strap, I first cut the piece of leather into two halves (forgot to take a picture of that, sorry!).
Making an Egg Point with a Cutter Knife
In L.H. Leather’s video I’m referencing for this project, they use a large round knife to make their egg points. You can see in the video how trivial it looks when done by an experienced artisan. Below you can see my attempt trying to replicate her move with my cutter knife (the result of that is on the left).
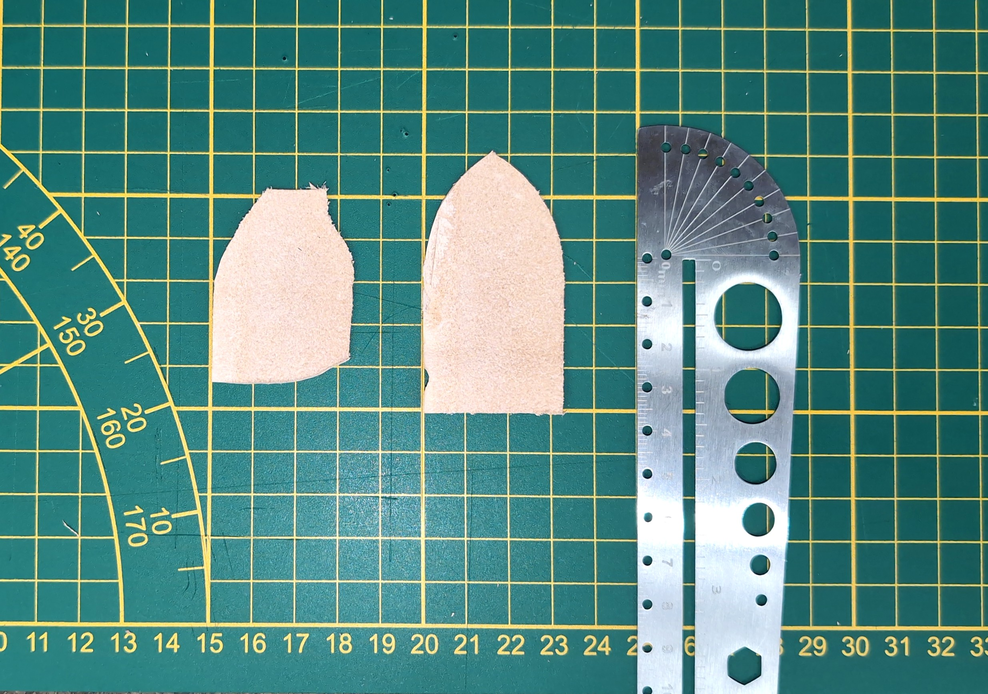
As the picture is already hinting, I used the round part of this strange ruler as a guide while cutting my egg point. I mark the middle of my strap, I align the slightly slanted edge of the ruler to the right edge of the strap, then move the ruler up and down until the round part intersects the middle marking. Make sure to hug the side of the weird ruler as you cut. Flip the strap, repeat, and voila! On the right you can see my first attempt at using this method, personally I’m quite satisfied with it’s results.
Let’s apply it to the strap!
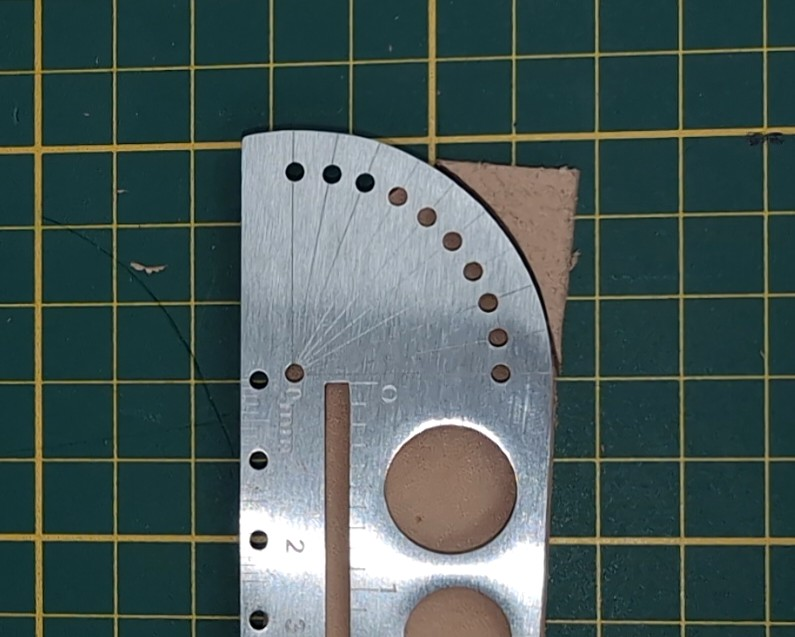
At this point, you would usually only make the egg point on one side, mark the holes to be used by the buckle later, and then measure the length of the collar starting from the middle hole (obviously measuring away from the egg point you just made). Adjust this length to whatever measurement you took of the target neck and make a marking at that distane. I realized at this point that the straps I cut are too short to have five holes worth of adjustment as seen in the video. So, knowing that I’ll be using the full length of the strap anyways I went ahead and cut the egg points on both ends right away.
 Due to the short strap situation I marked 3 holes. From the middle hole (holes are on the left side), I measure 38cm to the right and make a marking. This is where the buckle will sit later.
This collar is starting to take shape!
Buckle Time!
Now we measure the distance between the 38cm mark and the tip of the egg point on the right side. Since the strap will be folded around the 38cm marking to hold the buckle and D ring, another marking is made at twice the distance of the 38cm marking to mark the full length of the turn.
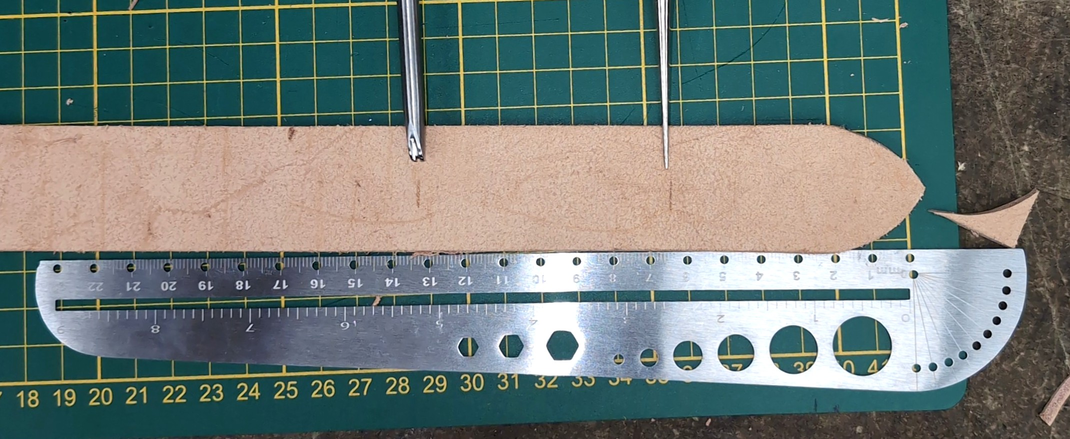
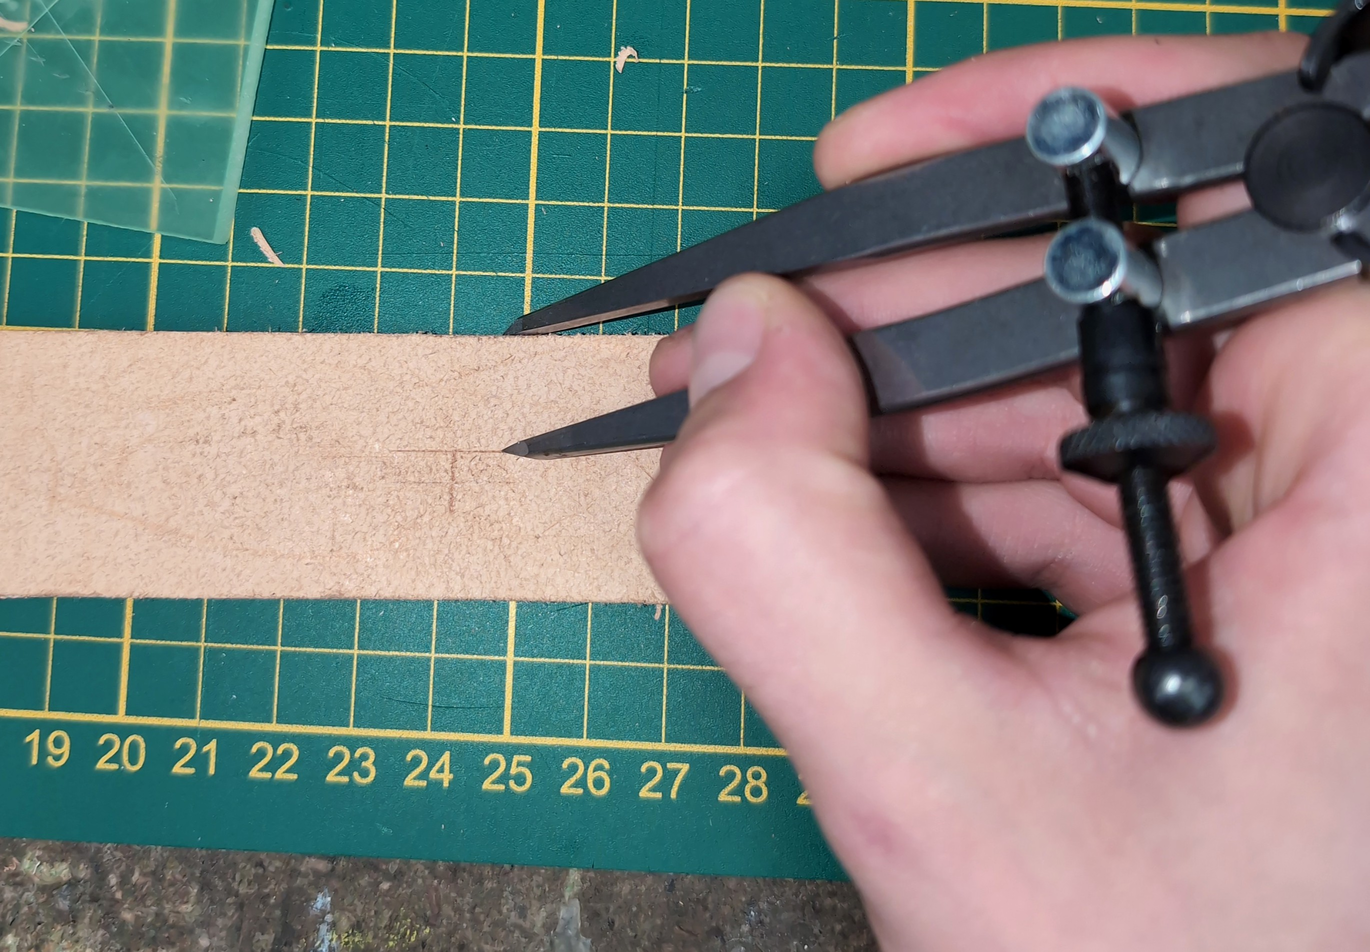
Now the width of the buckle’s prong (the piece that secures the collar strap in place by fitting into the hole on the other side) is measured. Using a hole punch the width of the prong, we punch a hole wide enough to fit the prong. We can mark some guidelines using a compass so it is easier to line up the hole punch.
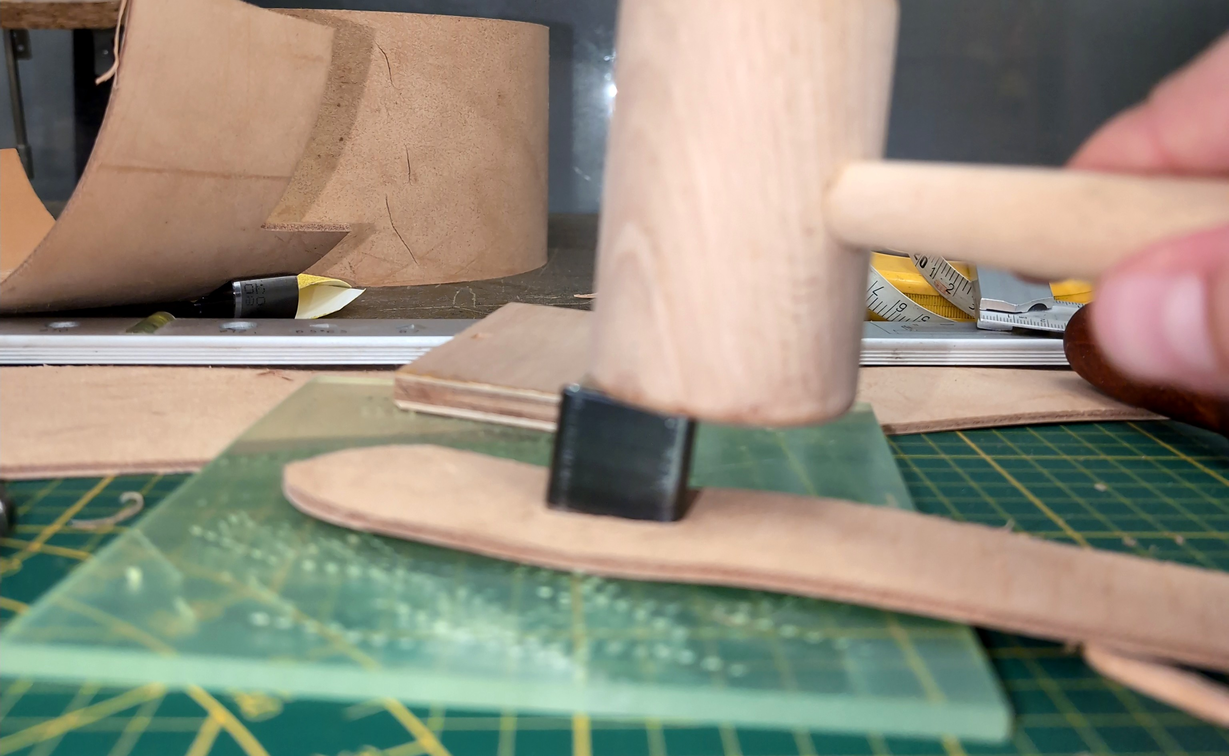
Now, use the prong-wide hole punch to punch a hole the width of the prong (it also has to be a bit long, since it will wrap around the prong and once the strap is uncurled that means the hole is kind of long). We punch the hole.
Look! The buckle fits! We must be getting close to finishing…
|
|
|
…right?
Stitching adventures await! See you all next post!
| quiquox@secure.mailbox.org | last update: 24.10.2026 |