Qui-
Mounting Hardware in a Collar (Part II)
for this part of the project, I am still following this YouTube tutorial by J.H. Leather!
Last time, a piece of rectangular leather was cut and shaped into a strap with two egg points on either end. Additionally, the markings which will determine the final size of the collar have been made.
Since the last post, I’ve went to the leather supply store ‘Strieder Lederhandel’ near Berkel en Rodenrijs, which — if you look on a map — you will notice is almost exactly in line with the Rotterdam Airport runway. It takes me about an hour to get there from Delft, but the trip was definitely worth it as I was able to color match their D-rings to the hardware I bought back in Genoa. Since I was already there, I decided it might be good to invest in some more hardware for future collars too.
Preparing the Strap
I begin by beveling the edges of the strap, making sure not to bevel the part of the strap which will later be folded onto itself. I bevel the edges on both the flesh side (the rough side of the leather), and skin side (the smooth side).
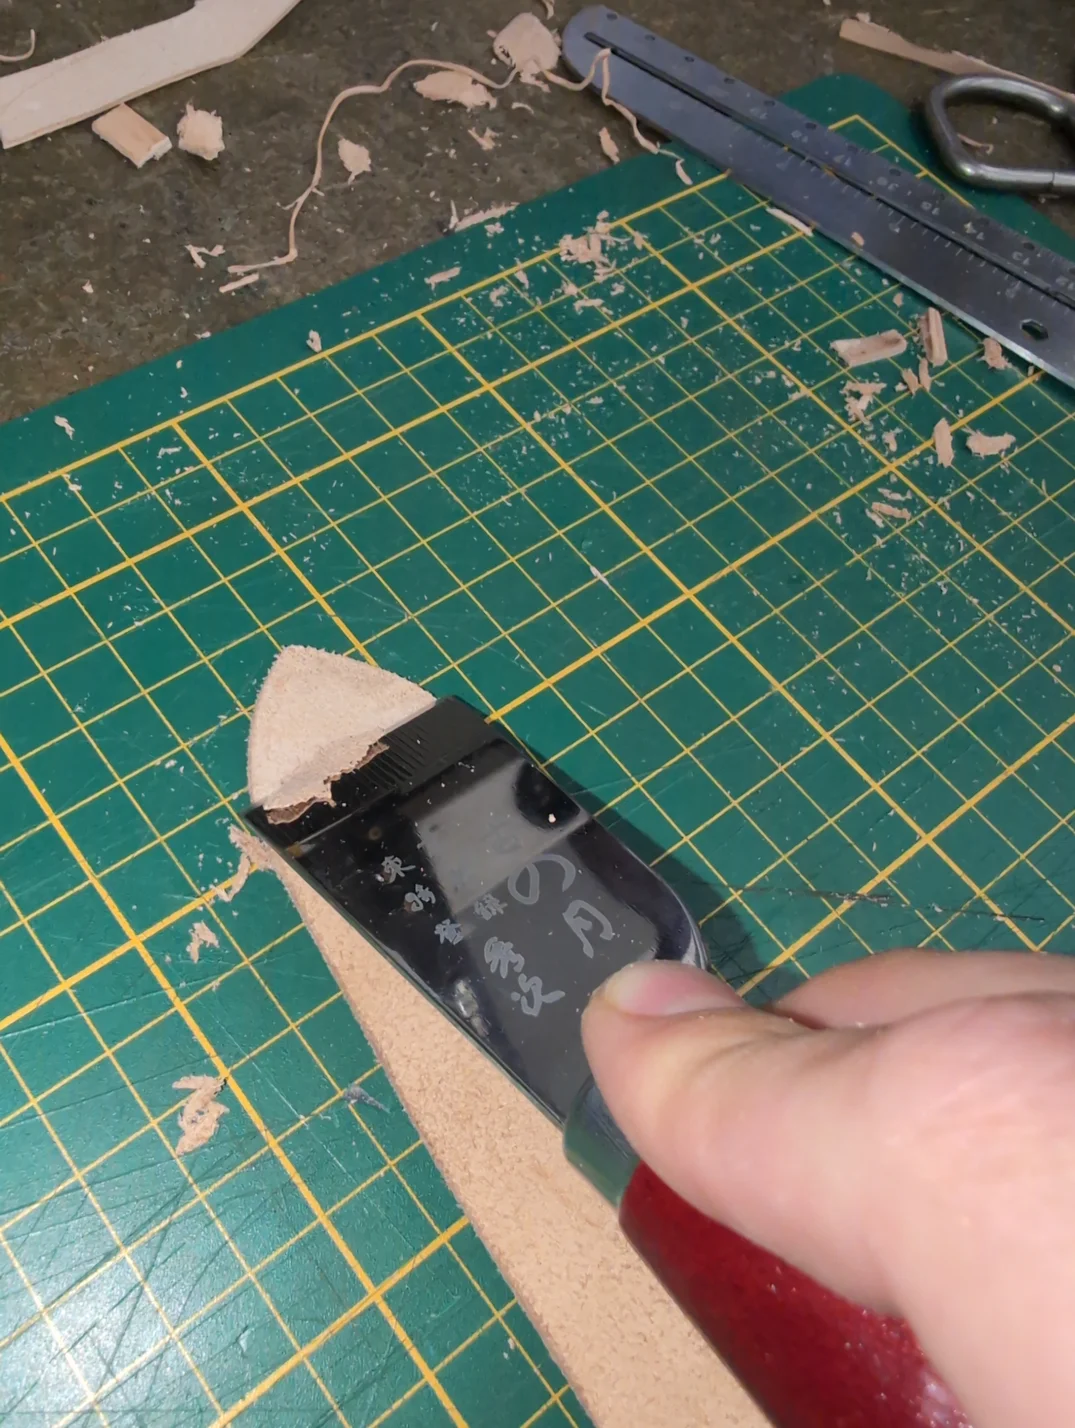
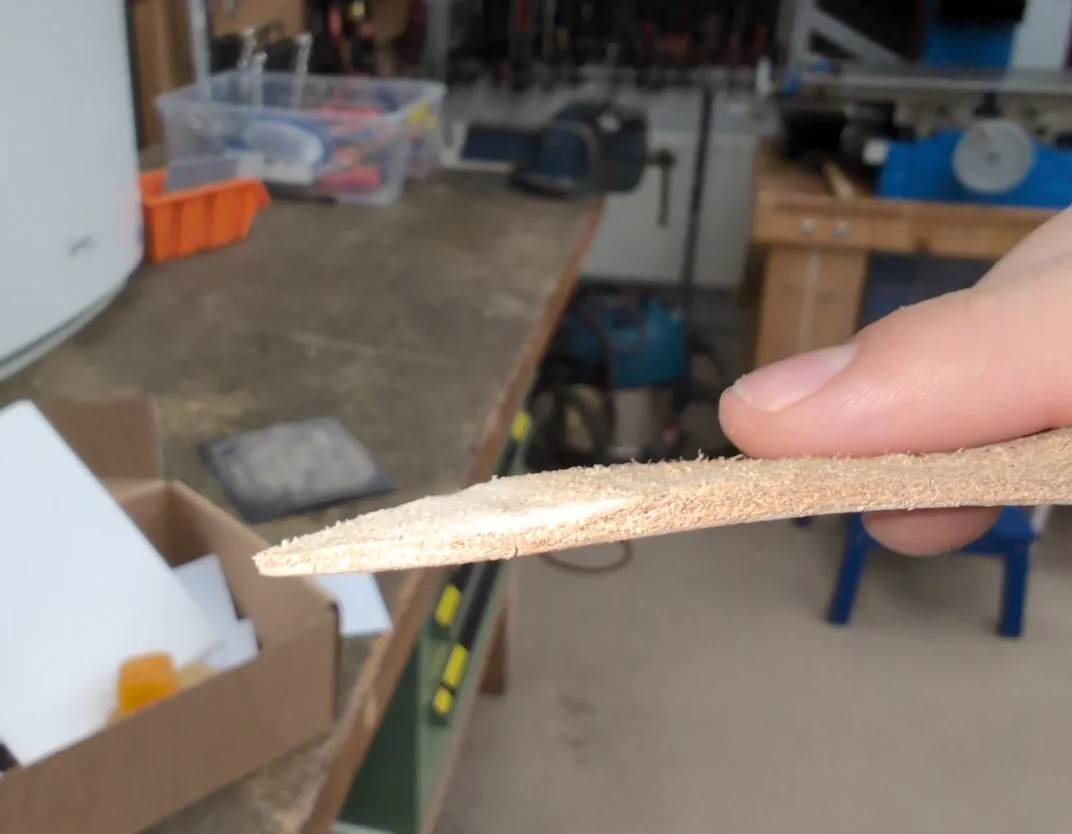
Next, the egg point on the buckle-fold end is skived (thinned out) to about half the thickness of the strap. The channel ‘Leathercraft School’ has a very nice and concise video on skiving technique. Heavily recommend watching both his beginners and intermediate leatherworking playlists.
|
|
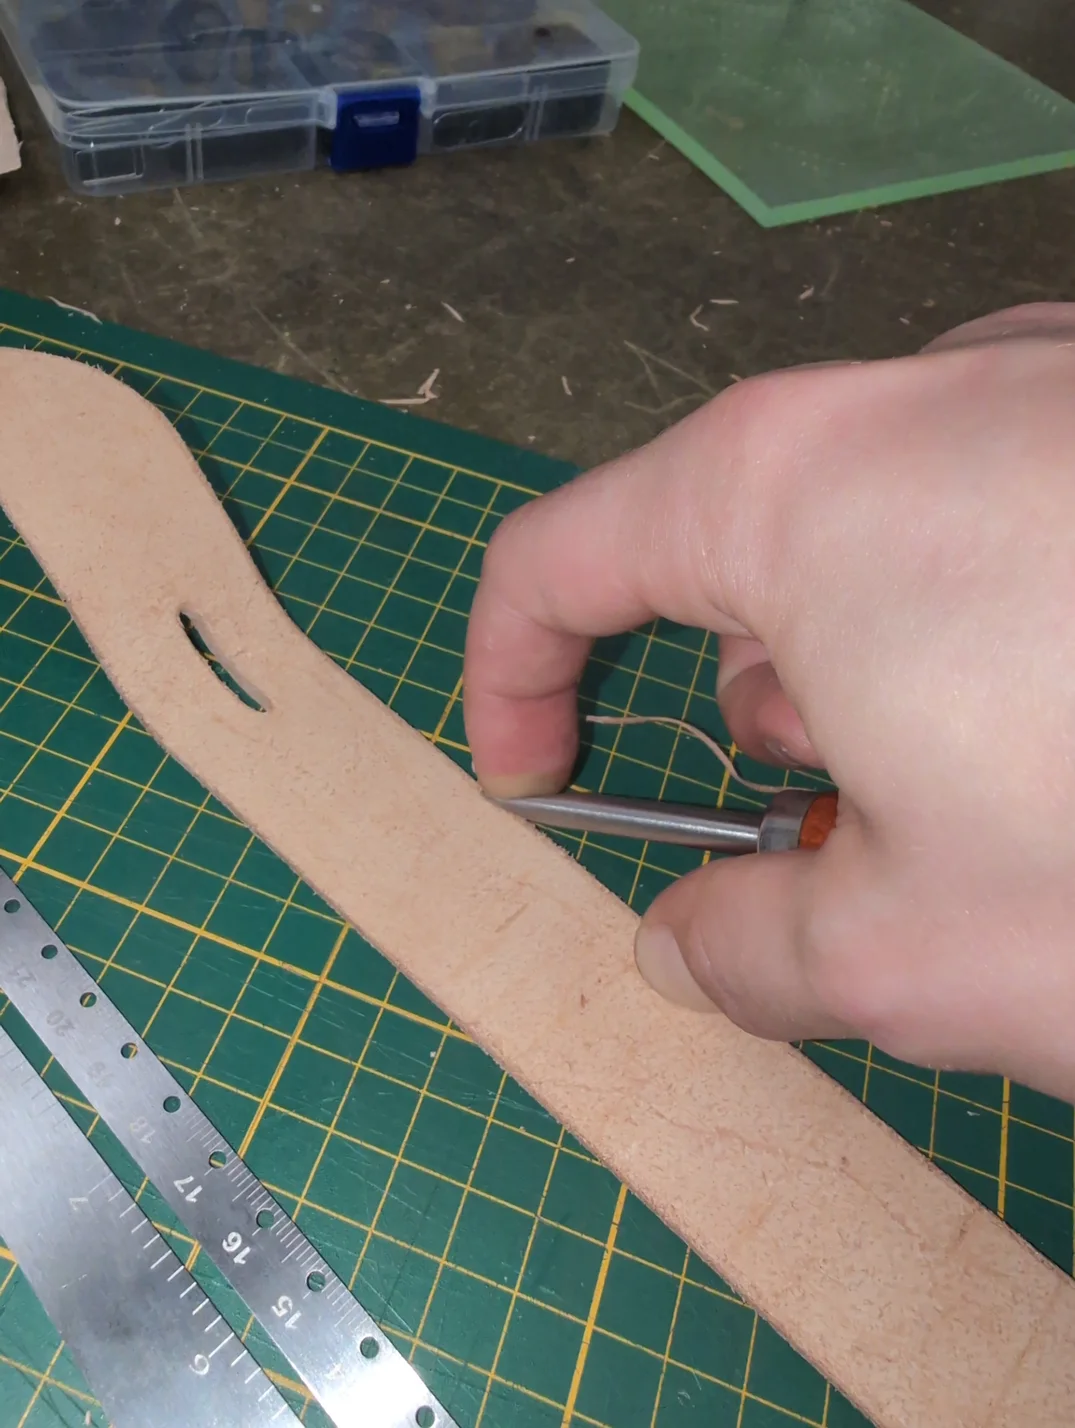
Let’s flip the strap to its skin side and use the compass at the thinned-out egg point to mark where we will make our stitching holes. Next we follow the line with the pricking iron to prick said holes.
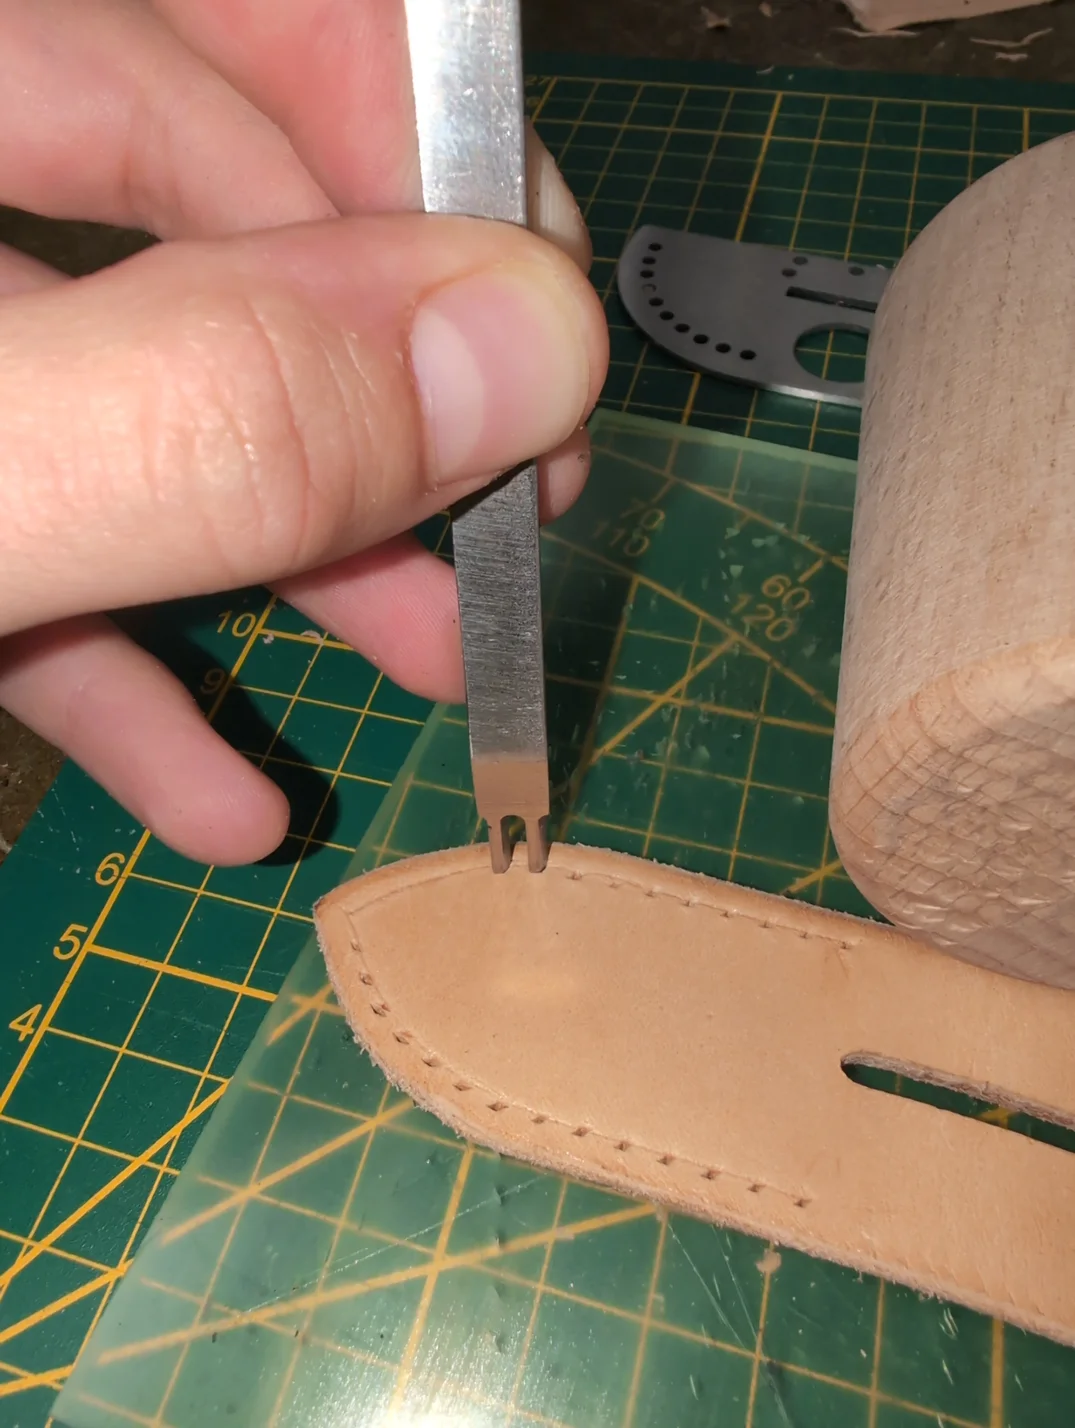
Preparing to Mount the Hardware
Do you know the little leather loop that the end of your belt passes through after being fastened in the buckle? We still have to craft that. The thick belt-grade leather I bought isn’t exactly ideal for this since it’s… thick…
And also it’s rigid. Doesn’t bend nice.
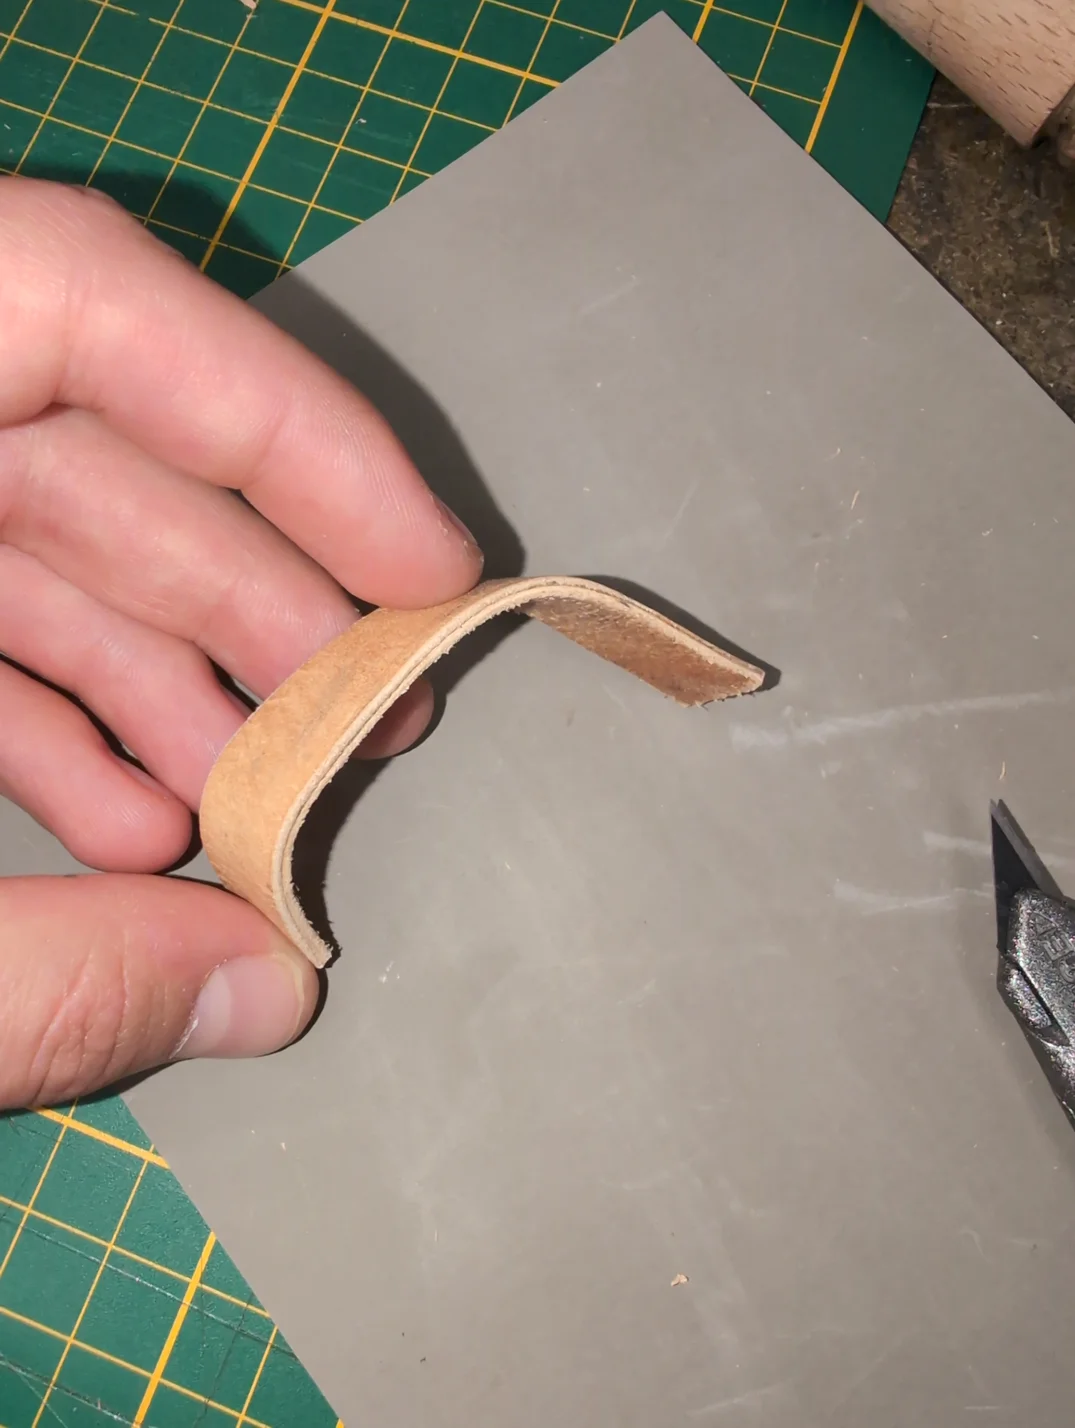
I stole some of my roommates old leather scraps (he has thin leather to make wallets out of) and glued two same-width strips to each other. Take your burnishing tool and some wax and burnish the edges while you can. Will be next to impossible once it’s mounted.
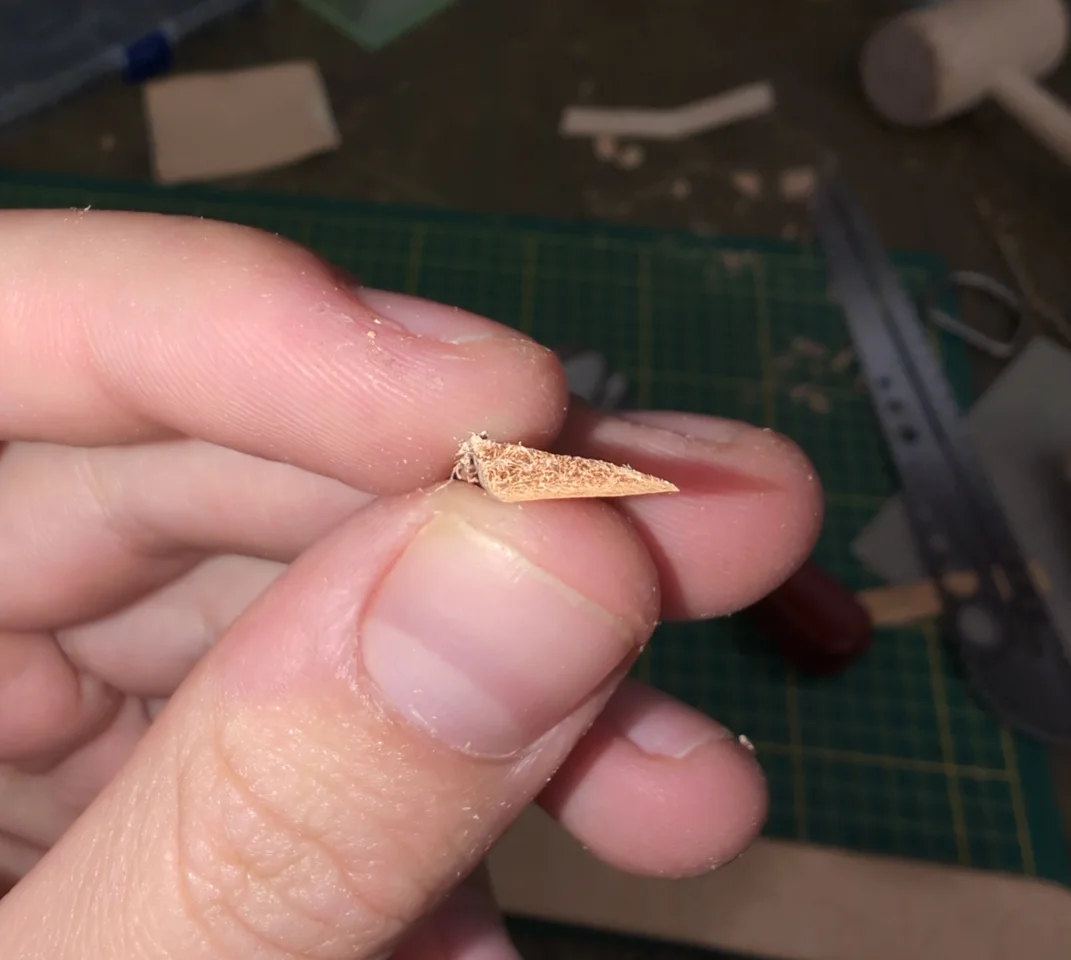
Additionally, we’ll skive a scrap piece of thick belt leather to obtain these wedges. We’ll need two of them to properly secure the D-ring in place. The piece of scrap thick leather should be as wide as the belt strap itself.
Oh Gee I Believe it’s Hardware o’Clock!
We have arrived at possibly the most exciting part of building a collar. We are finally mounting the hardware!
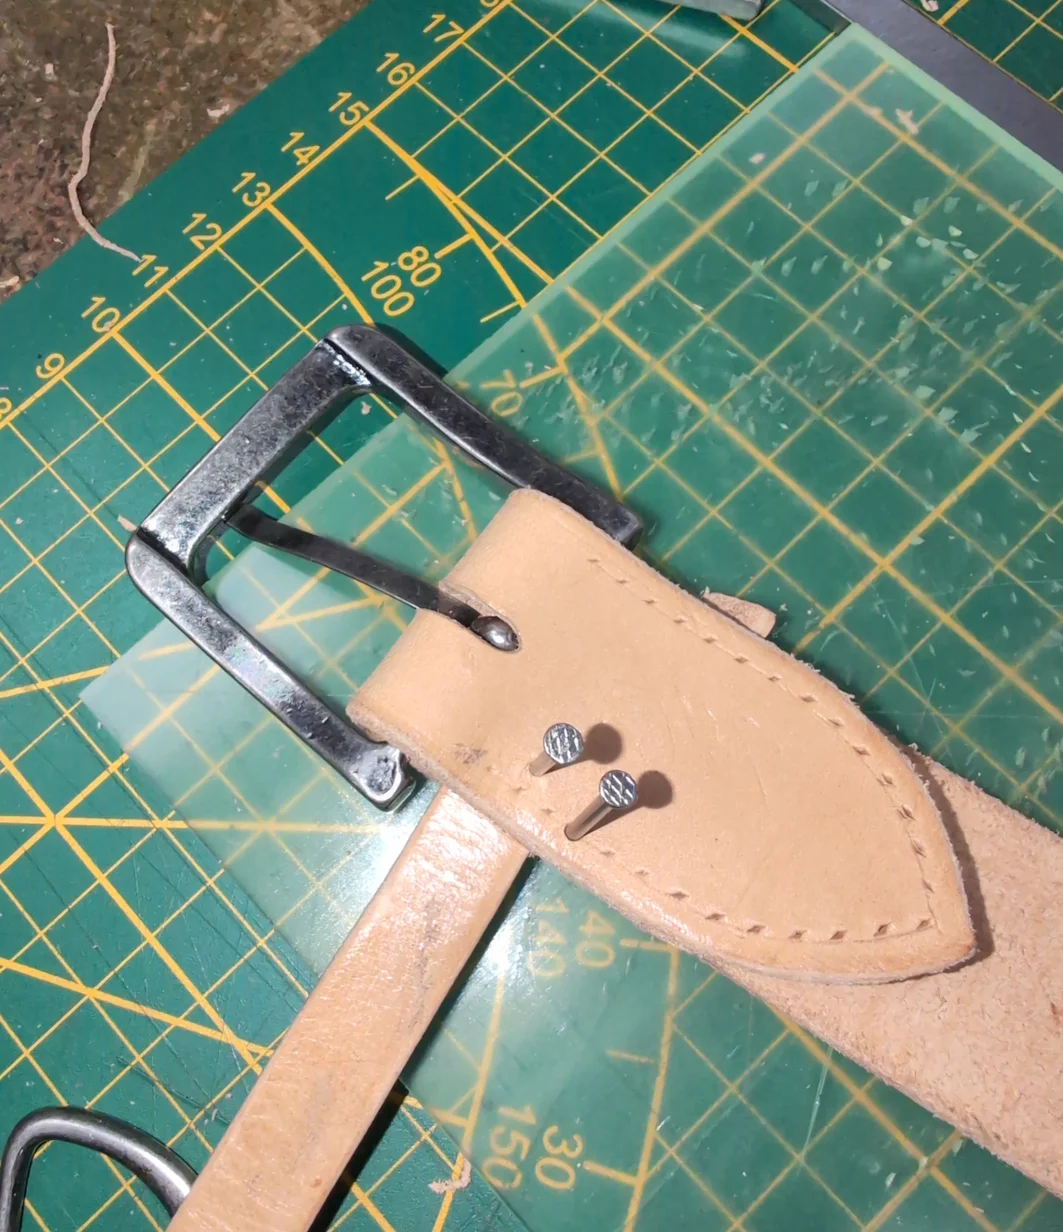
Begin by inserting the buckle into the fold, then align your Leather Loop Strip Thing (LLST) to be at least one stitch away from the buckle. Hammer in a pin to secure the LLST in the right place. Don’t do as I do in the picture below. I only realized after the first pin that I can just put the nail through an existing stitching hole.
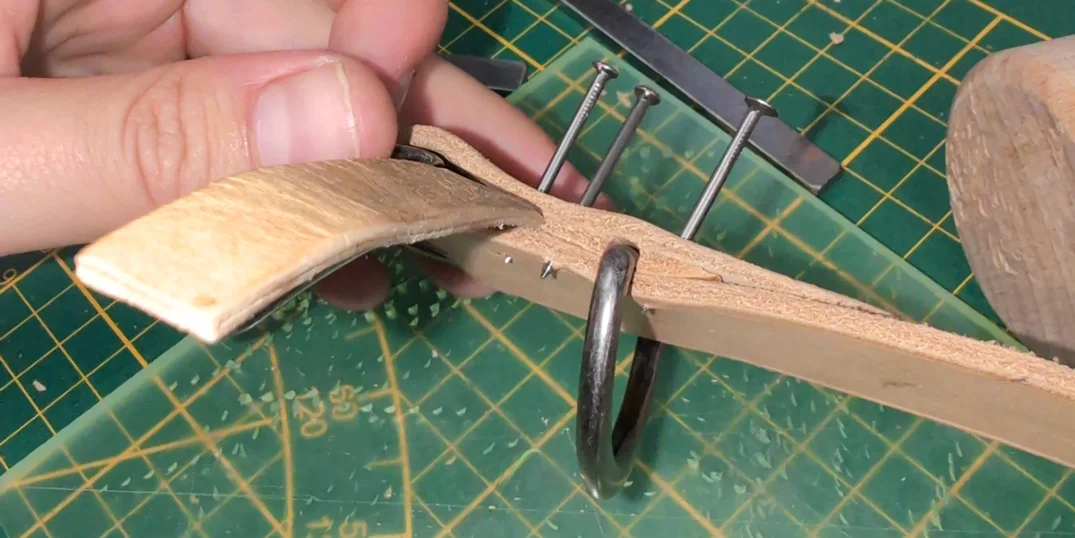
Subsequently, we can insert one of the leather wedges we skived earlier. Thin side towards the LLST, thick side towards the D-ring. Insert the D-ring and slide in the other wedge. Again: thick side towards the D-ring. Pin that all that wedgie business in place.
Serious Saddle Stitching Starts (Now)
I really don’t know if my writing will do a good job explaining how to do a saddle stitch. Go watch a video if you’re confused.
First and foremost: get a stitching awl. At the time of writing and of making I don’t own a stitching awl yet. This is a tool that’s really good at piercing through multiple layers of leather. If you want to try and make your own collar I highly recommend getting one of these (I’m assuming). I had to use the pricking iron to punch the holes through the layers — which worked — but it ended in misaligned holes and it was just a general pain in the butt.
Anyways, take a long piece of thread and thread the thread through two needles: one on either end of the thread. Take one of the needles and stick it through the second stitch hole counting from the buckle. Pull until the thread is evenly long on each side. Take the left needle (it doesn’t matter which side you start with, just stay consistent) and pierce the stitching hole closest to the buckle from the left (as shown in the picture).
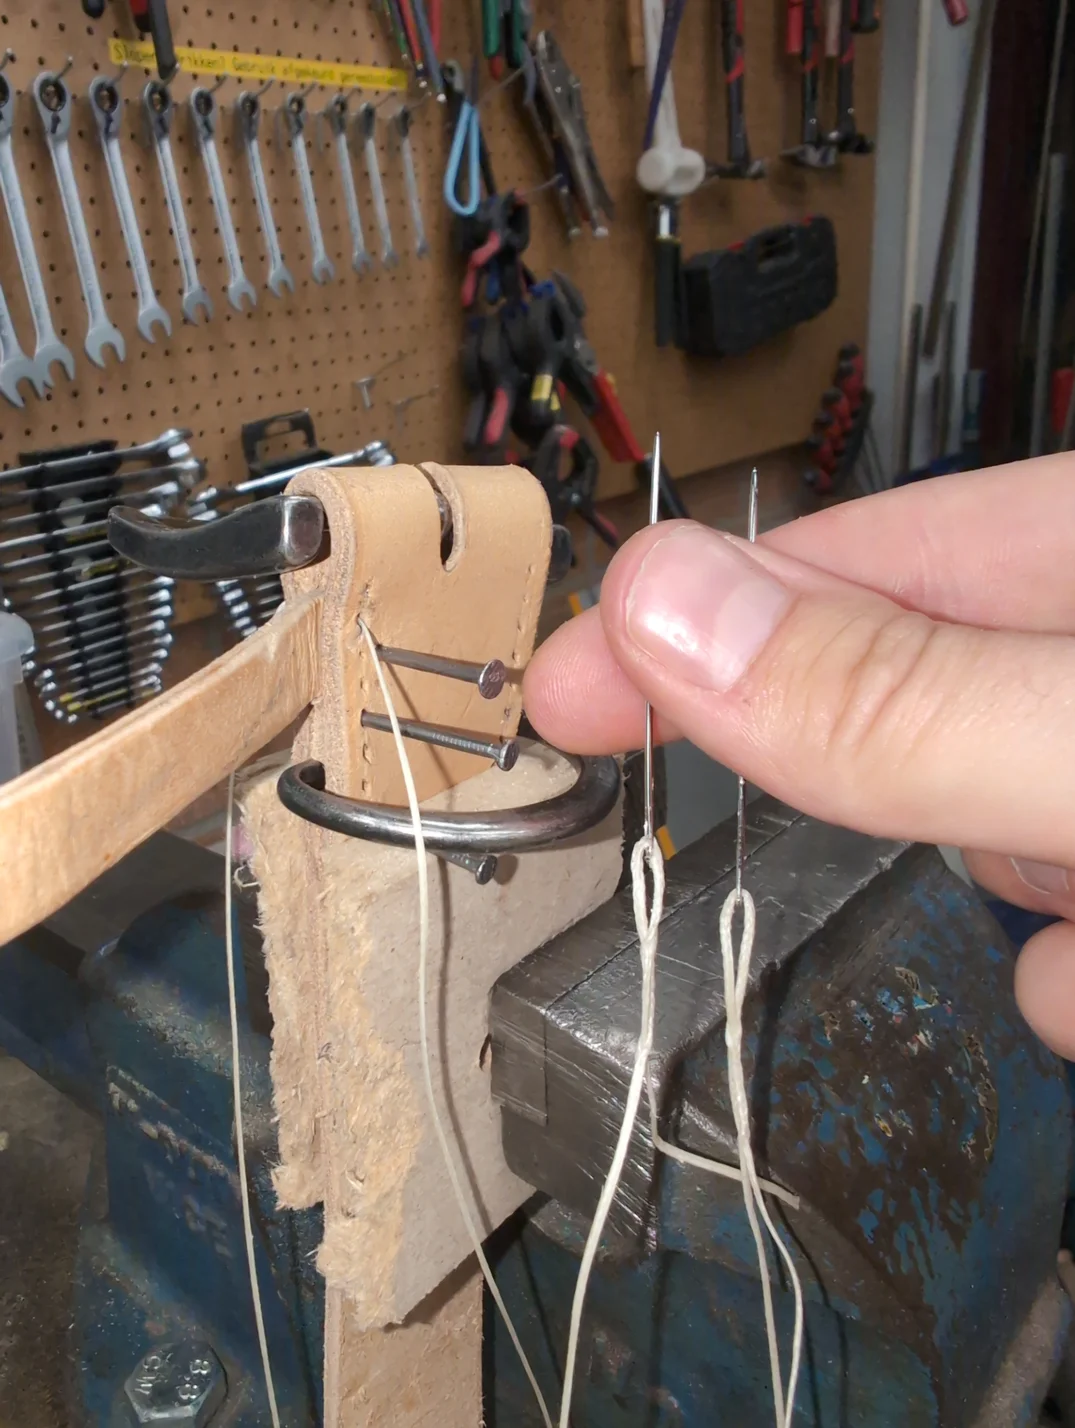
|
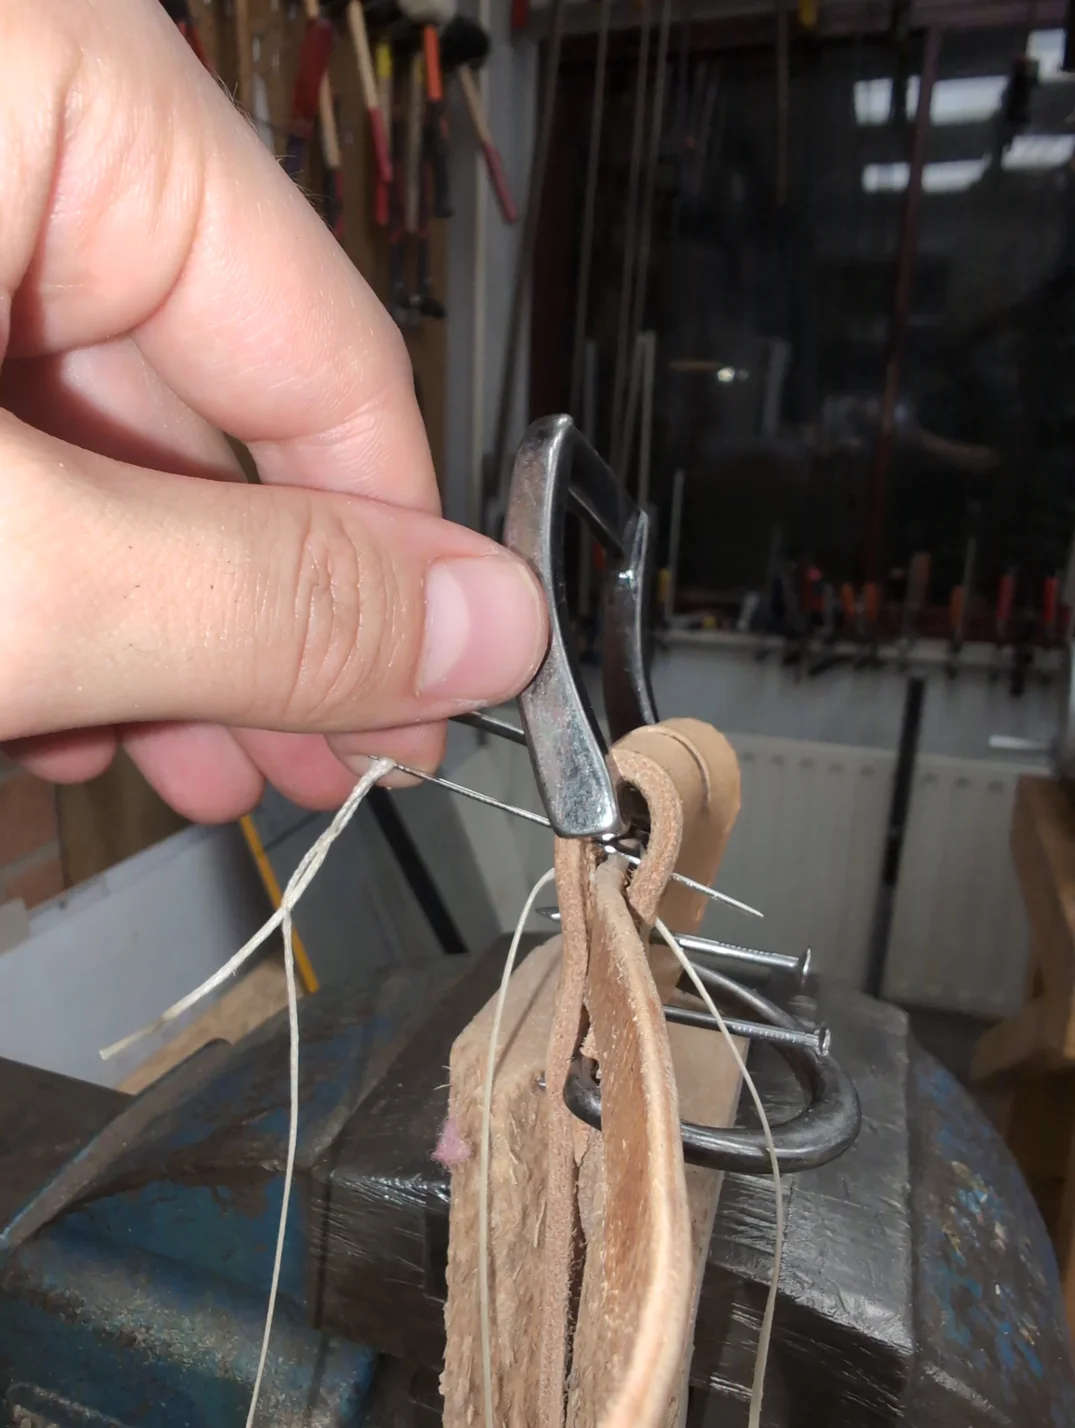
|
Now take your right needle and stitch through the same hole (this time from the right). Pull both needles simultaneously until the stitch is tight. Make sure not to push one of your needles through the other thread. Hard to explain what I mean but it will probably happen to you at some point if you try this (this would be similar to when you’re securing the thread to your needles, except unintended and really annoying).
Now I will take the right needle and feed it into the left side of the stitching hole. Thread the left needle through the right side of the stitching hole. This should make the threads cross the collar on the outside. Do this one more time so you get double the strength. When you pull tight it should secure the buckle in place on that side. Now we’ll work our way down the stitching holes. We stitch through each hole from both sides as we go. Honestly it’s really easy. Look at Wikipedia or a video or something. Go do some backstitches across the D-ring while you’re at it to make it extra secure or whatever. Freaky ass nerd.
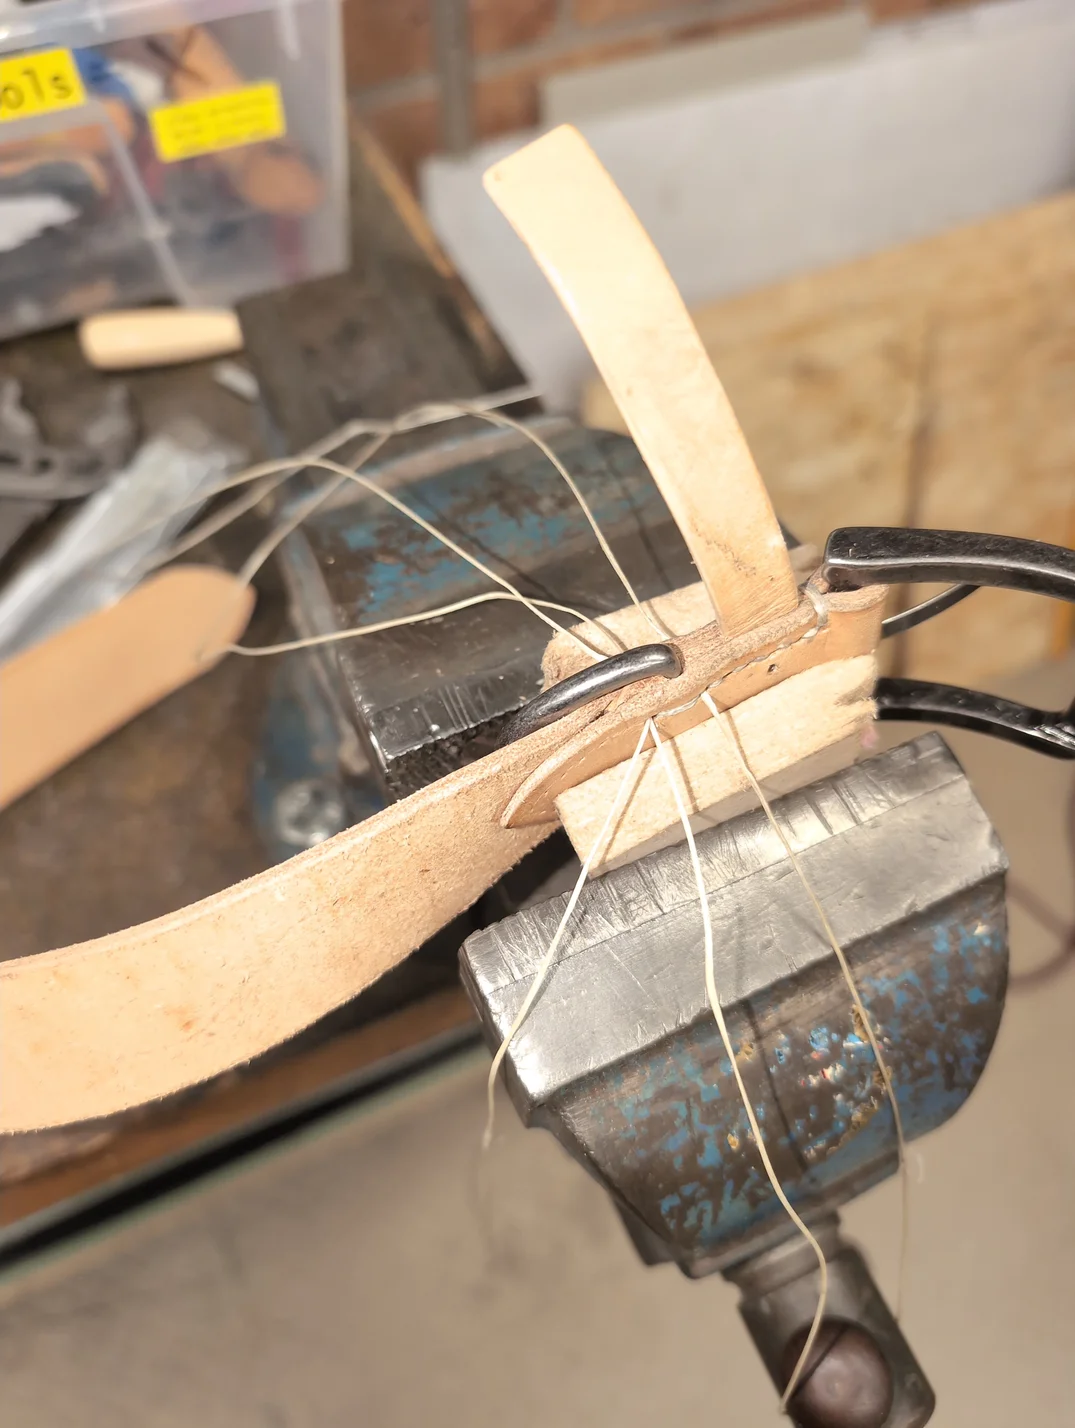
Look how neat the stitching looks on the side where we pricked the holes from. Wow.
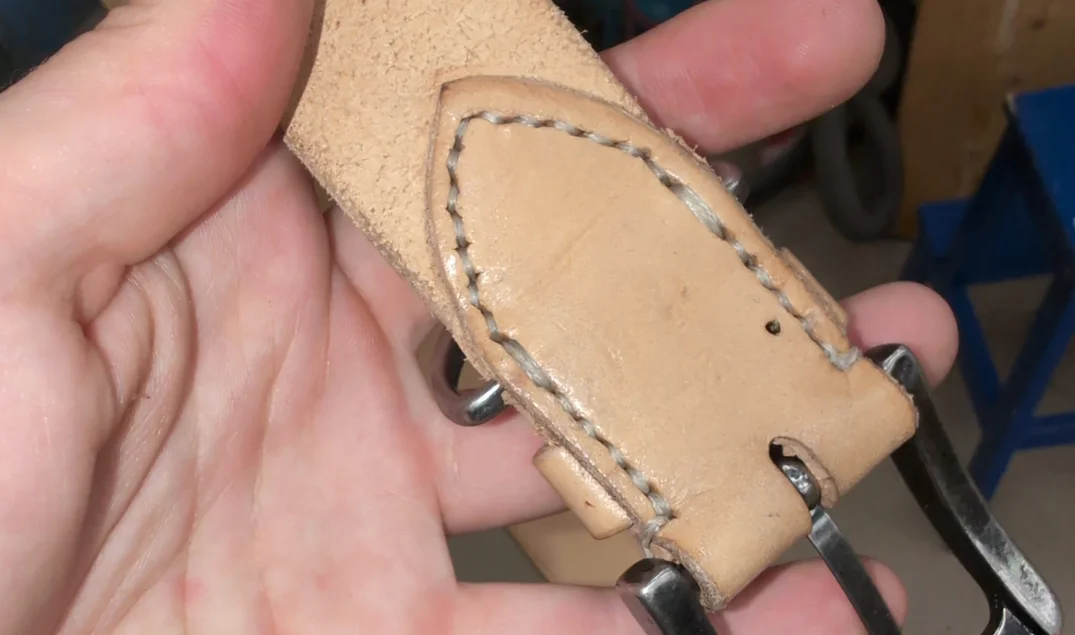
Now please realise that’s the side which sits against the neck, which means it’s definitely hidden. Let’s take a look at the other side.
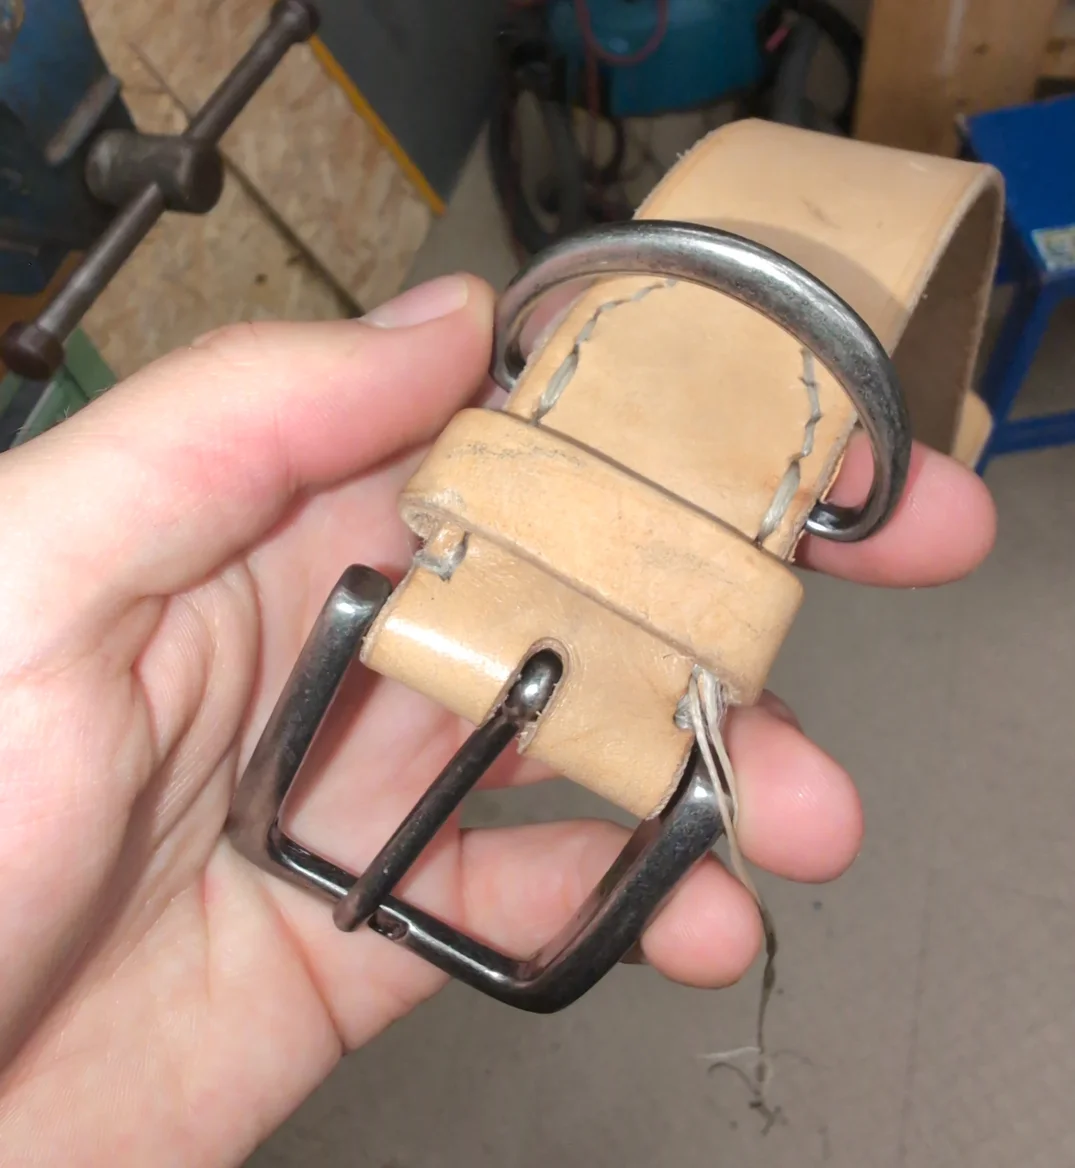 trust me there’s uneven stitching behind the D-ring, just zoom in on the final picture later
Luckily this part is also covered by the strap while the collar is used, so nobody will have to know about your lacking leatherworking skills. Or lack of stitching awl.
Just so you know, the stitching awl still requires practice to give nice and even results. I’ll definitely brush up on my stitching awl ownership and skills before I’m making another collar.
Let’s use some 300 grit sandpaper to smooth out the wedges that are slightly sticking out. Only sand in one direction. Take some fine 800 to 1000 grit sandpaper and work the area also. Wet the area with some water, take the wood burnishing tool, and rub it on the area we just sanded. The leather should become smooth and slightly shiny.
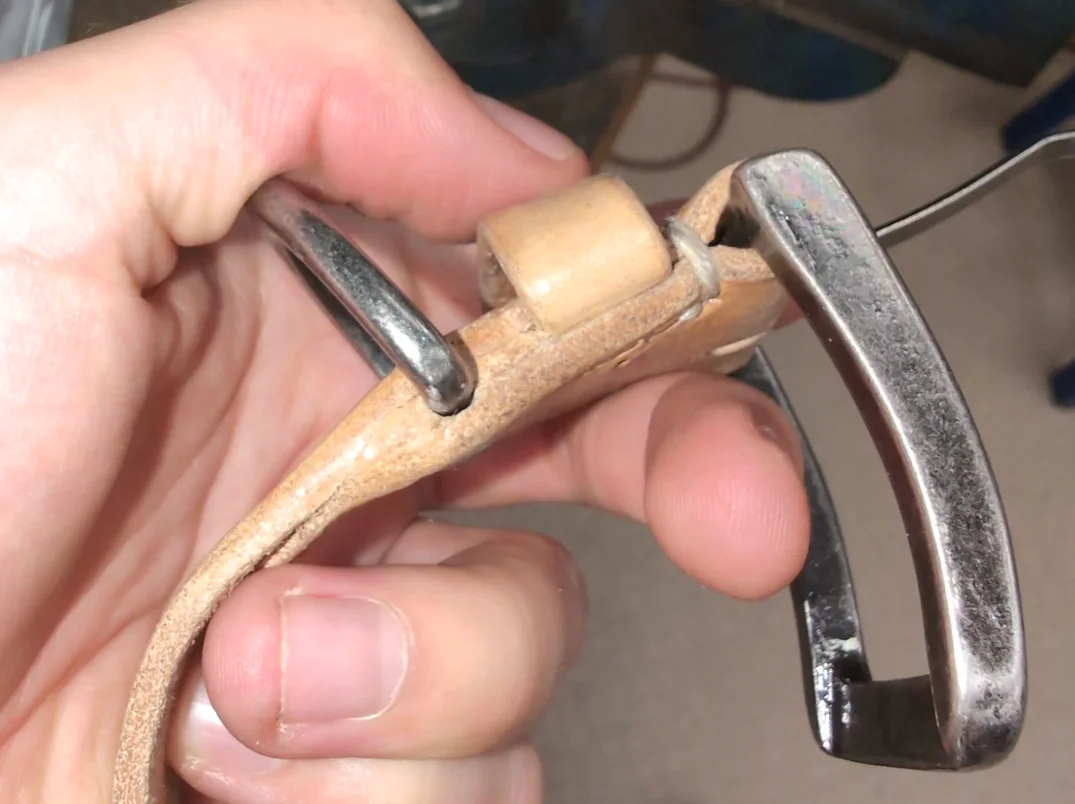
Finally, it’s time to punch the holes that will secure the prong later on. Pick a hole punch appropiate for the size of your prong and then accidentally take a larger one to make your first hole.
For the other two holes, proceed with the smaller hole punch you picked earlier and conclude that this is now part of your signature style. Nice.
Look at the Collar I Made
The construction of the collar is finished! Look at it!!!
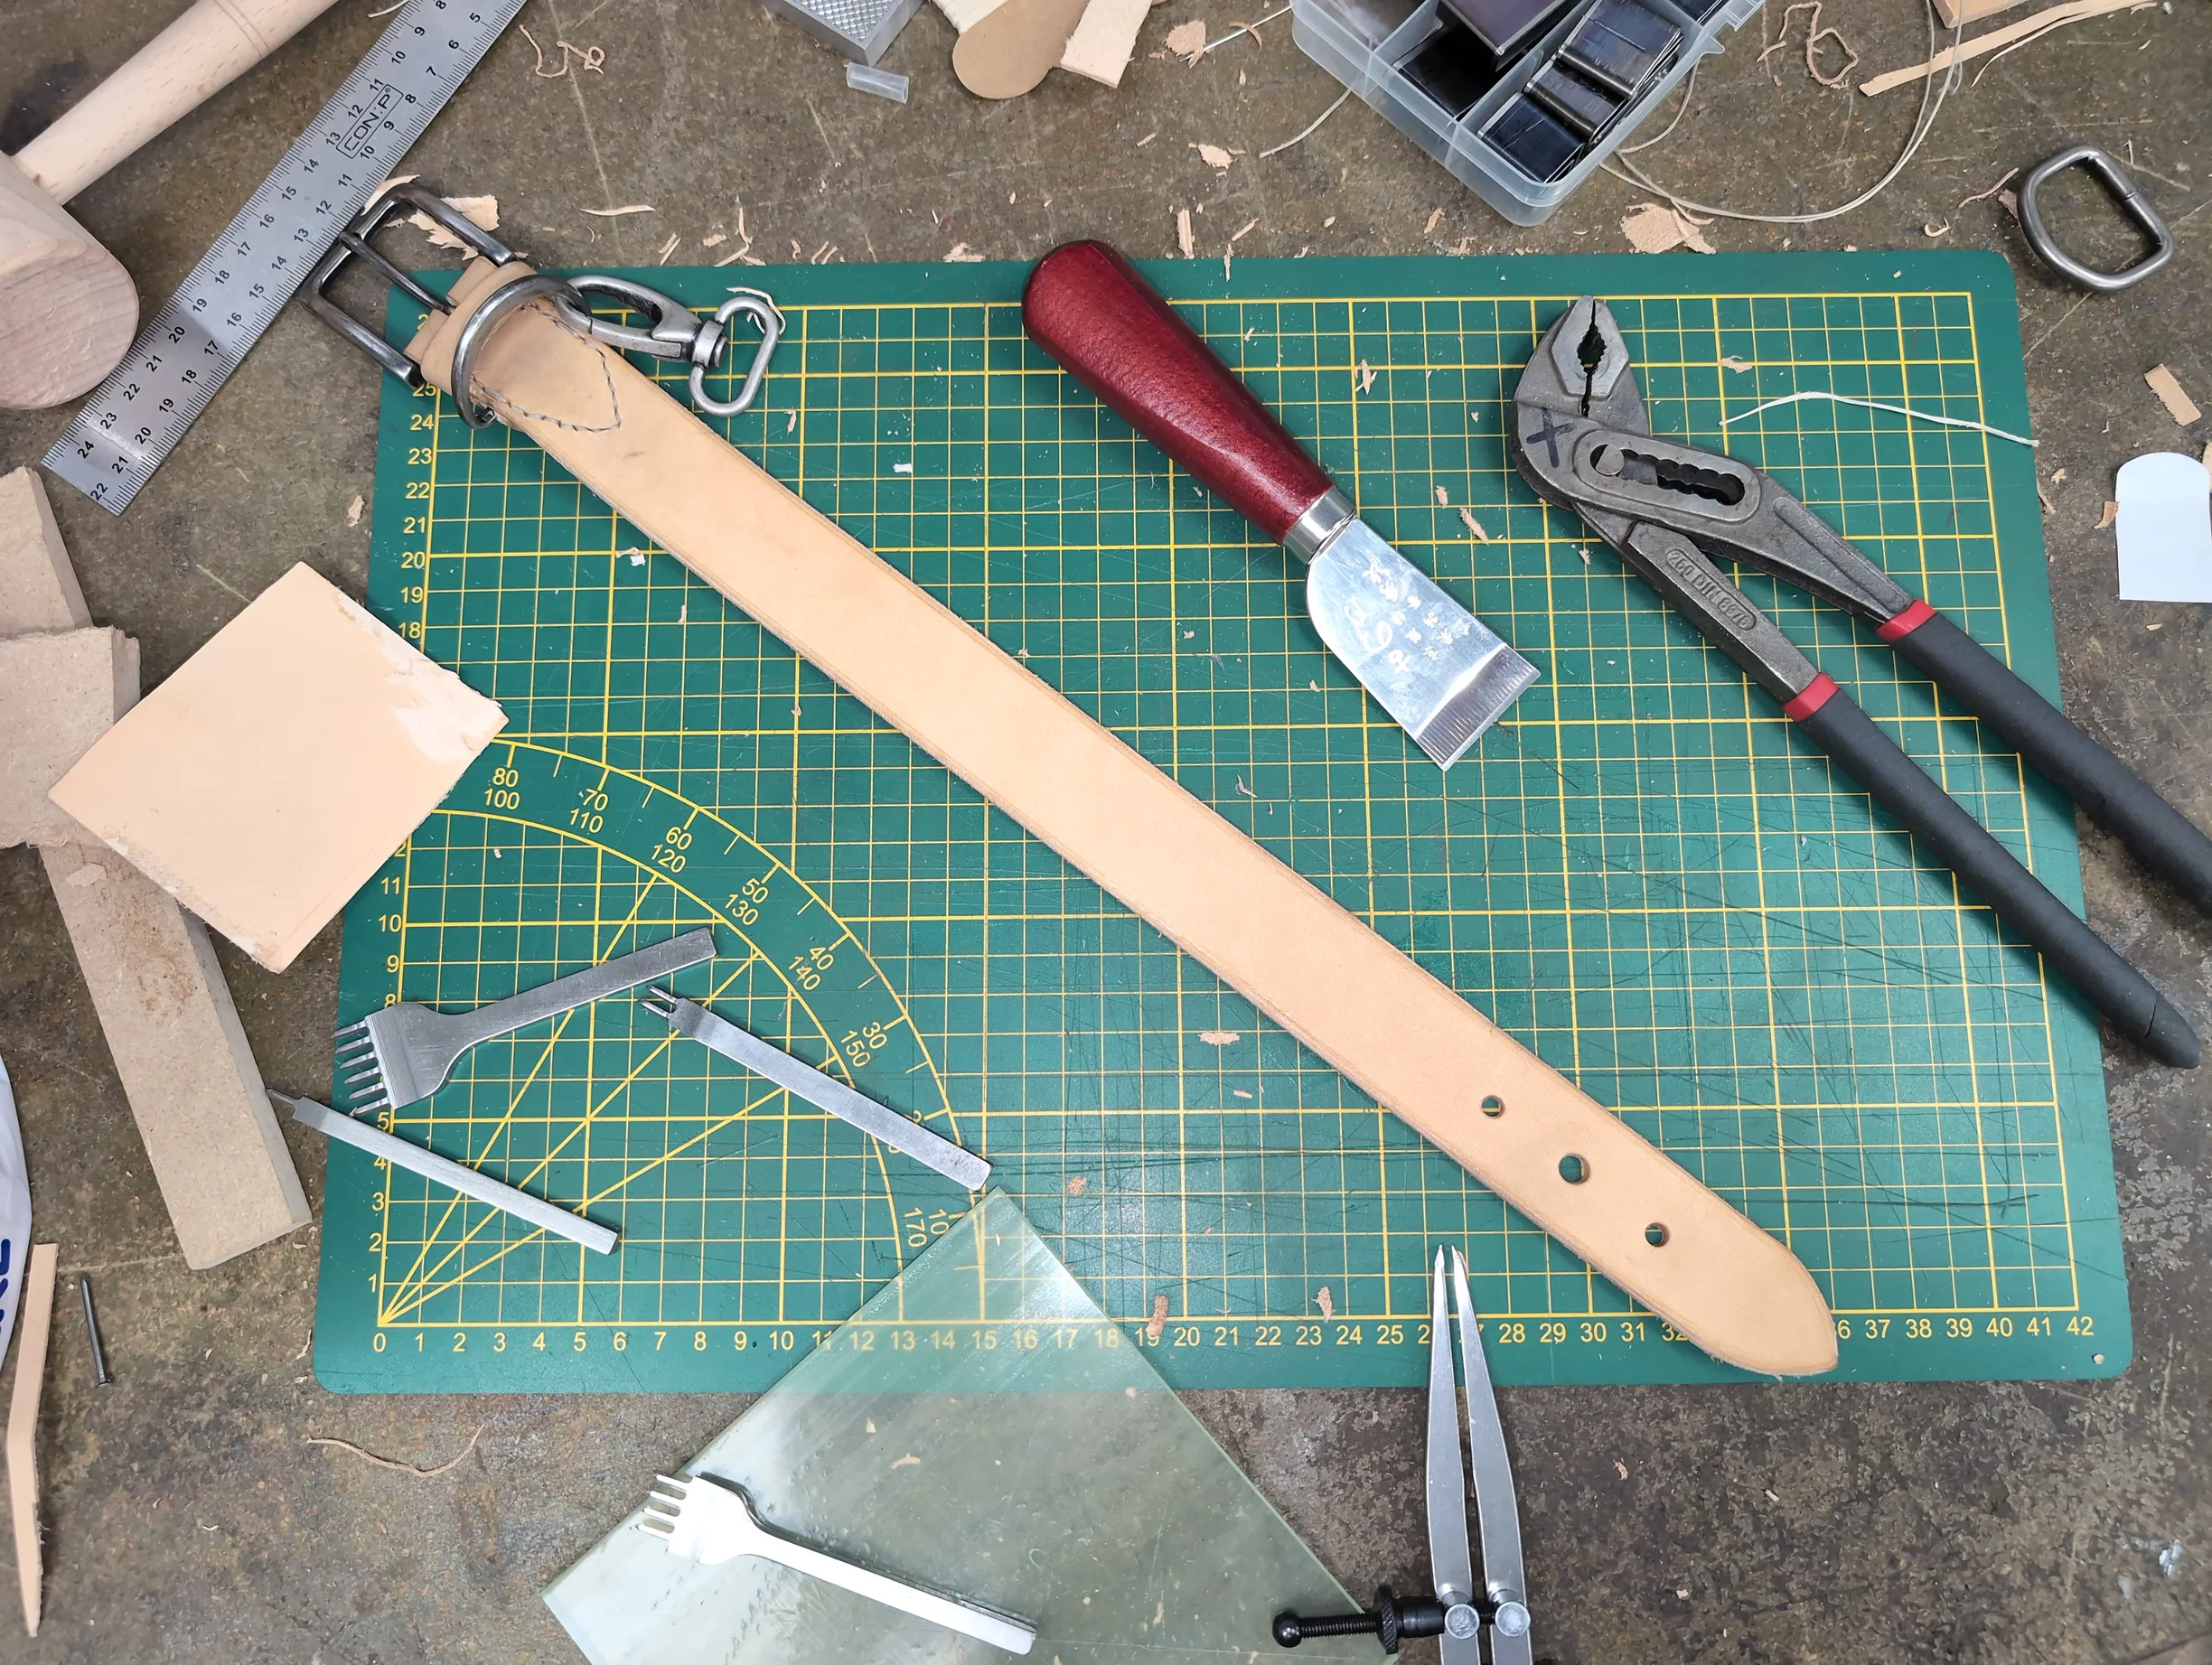
Now the last thing to do is to give it a nice finish… See you next time!
Useful Sources
- Leathercraft School’s Beginner Course - Great resource for basic techniques and tools!
- Leathercraft School’s Intermediate Course - Great resource for some more specific tools and techniques like skiving and the stitching awl.
- Leather Dog Collar YouTube tutorial by J.H. Leather - Yeah it’s the same tutorial I’ve been following since last time.
- Saddle Stitch tutorial by J.H. Leather - The saddle stitch tutorial I referenced doing the saddle stitch on my collar.
| quiquox@secure.mailbox.org | last update: 24.10.2026 |